Configuring NinjaTrader 8 for use with GSB
Configuring NinjaTrader 8 for use with GSB
This guide applies to NinjaTrader version 8.0.19.1 64-bit
Contents:
- Import the GSB AddOn for NinjaTrader 8
- Configuring options: time zone, market data
- Set up Trading Hours (session templates)
- Safety – Global Simulation Mode
Import the GSB AddOn for NinjaTrader 8
The GSBLib AddOn is the function library that enables systems built with GSB to work in NinjaTrader, so that they can be autotraded live or in tested in sim.
You need to import and compile the AddOn so it works.
First ensure the you have downloaded the most current version of GSB and the NinjaScript AddOn from the Resource Manager.
From the NinjaTrader Control Centre, under Tools, select Import > NinjaScript Add On.
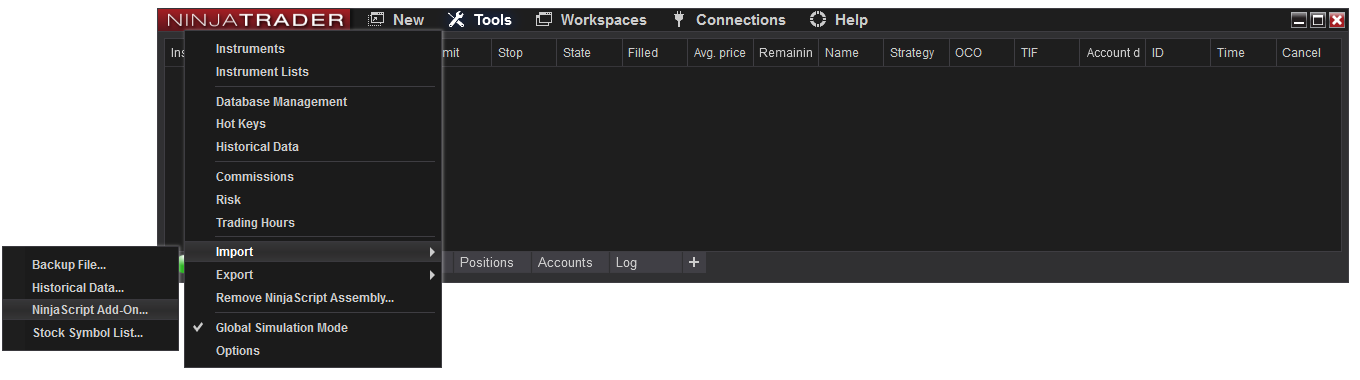
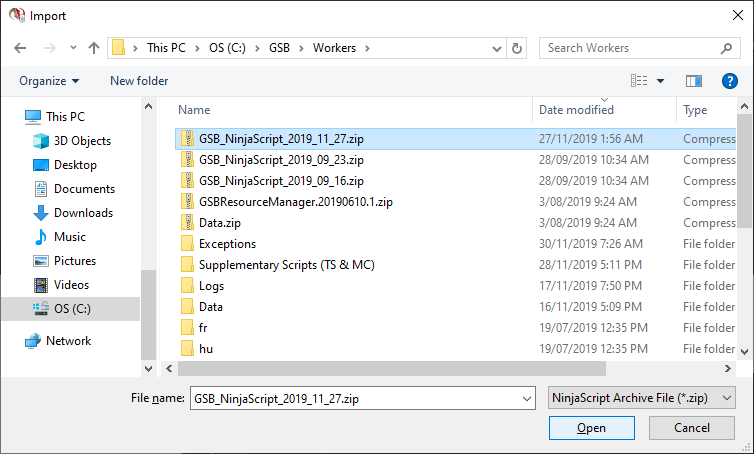
The Import dialog box will open.
Navigate through your directory structure to the GSB folders and select the most recent file. Sorting by Date modified may assist.
Left-click Open.
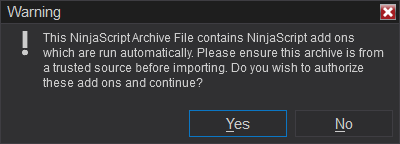
If you want to proceed with installing the AddOn, left click Yes if a warning pops up.
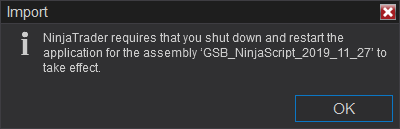
If you are asked to shut down and restart NinjaTrader, left click OK.
Close NinjaTrader

If asked to Save the Workspace, and you are unsure about which option to select, left click Yes to all.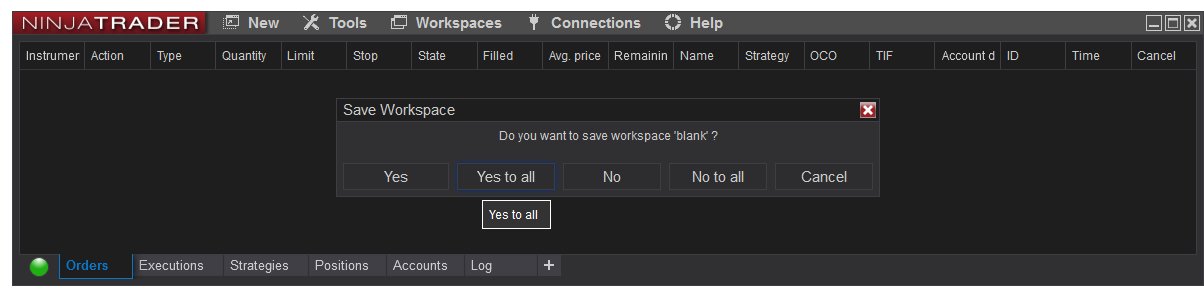
Restart NinjaTrader
It is not necessary to re-establish your data connection at this point but you may if you prefer.
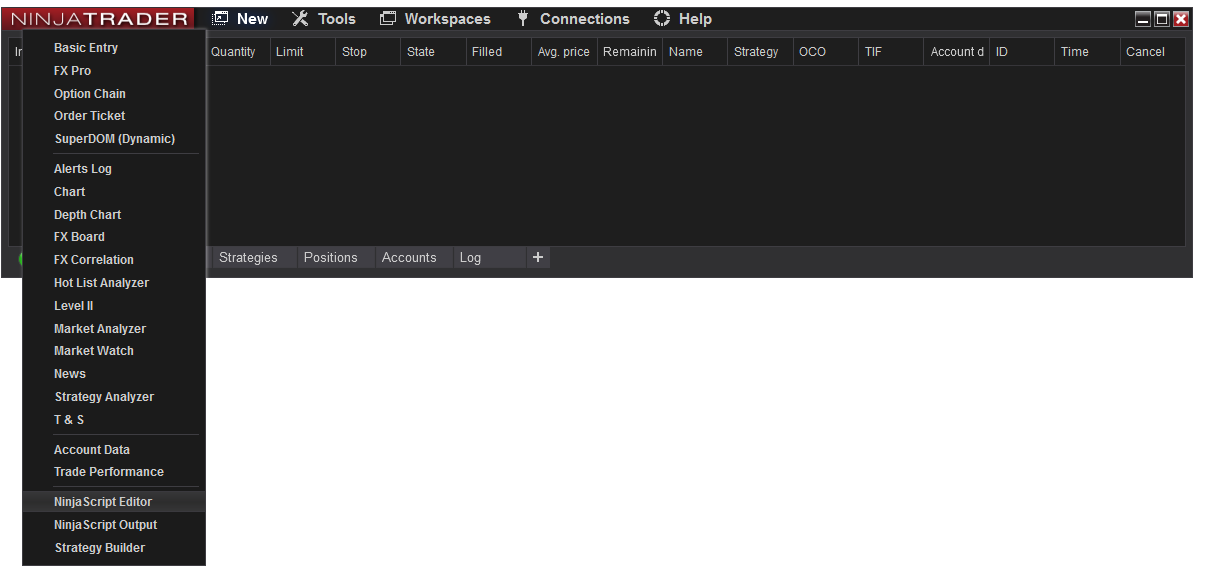
Open the NinjaScript Editor.
In the Control Center left click New > NinjaScript Editor
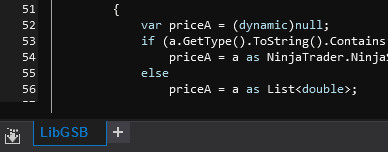
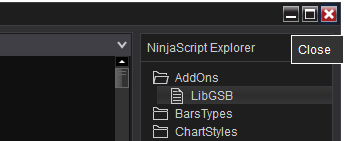
In the top right menu double left click the AddOns folder.

Then double left click the LibGSB AddOn to open it.
In the top centre of the menu bar left click the Compile icon.

In the lower left corner, the compile animation will play until the strategy is compiled. The animation will cease and, an audio confirmation will be played.
The AddOn is now imported and ready for use with GSB systems, which must each also be imported.
Close the editor.
Setting Options
First you will need to set the right time zone, then the right market data options.
Time Zone.
To achieve the highest compatibility between GSB, Tradestation and NinjaTrader, they all need to operating off the same time zone. For consistency between trading platforms, we can set NinjaTrader to use US Central Time like we do for Tradestation. There is no need to change the PC local time to do this however, it can be configured within NinjaTrader.
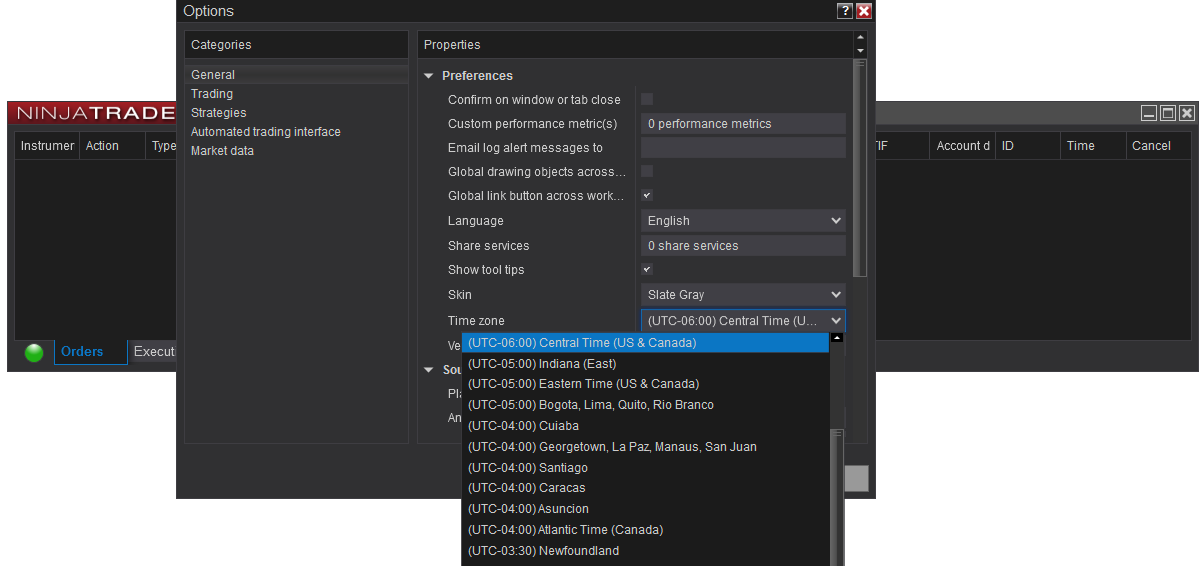
From the Control Center left click on Tools > Options

When the Options dialog box opens, under Categories on the left, left click General. Under Properties on the right look down to Pretences > Time Zone. Left click on the time zone drop down and scroll through until you find Central Time (US & Canada) and select it.
Market Data
If using GSB to trade futures, it is important to configure the historical data preferences correctly. While you can back test a NinjaScript strategy on a continuous futures contract, you can’t auto trade live on the continuous contract. So it is good practice to view the current futures contract, that most people are trading, and emulate the continuous contract by merging and aligning historical data from prior contracts with it. Also because futures contracts expire, it is essential to roll over between futures contracts at the right time. If you are not familiar with these concepts or how to manage futures contracts in NinjaTrader, please refer to NinjaTrader help.
Either way, the following configuration steps are recommended.
On the left half of the Options dialog box, under Categories, left click on Market Data.
Under Properties on the right, select Historical > Global merge policy. Left click on the drop down box and select Merge back adjusted.
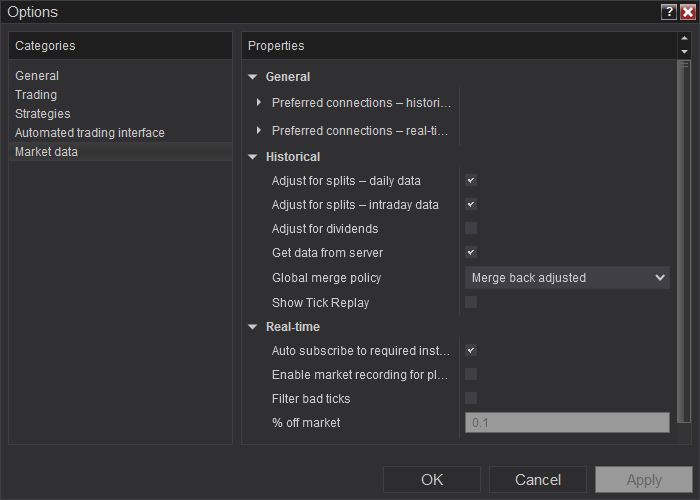
Left click OK.
Trading Hours (Session Templates)
Trading Hours are the NinjaTrader equivalent of Tradestation session templates.
In order to maintain compatibility between GSB, Tradestation and NinjaTrader, you need to ensure that you are using the right Trading Hours for the instrument (eg futures contract) you are trading.
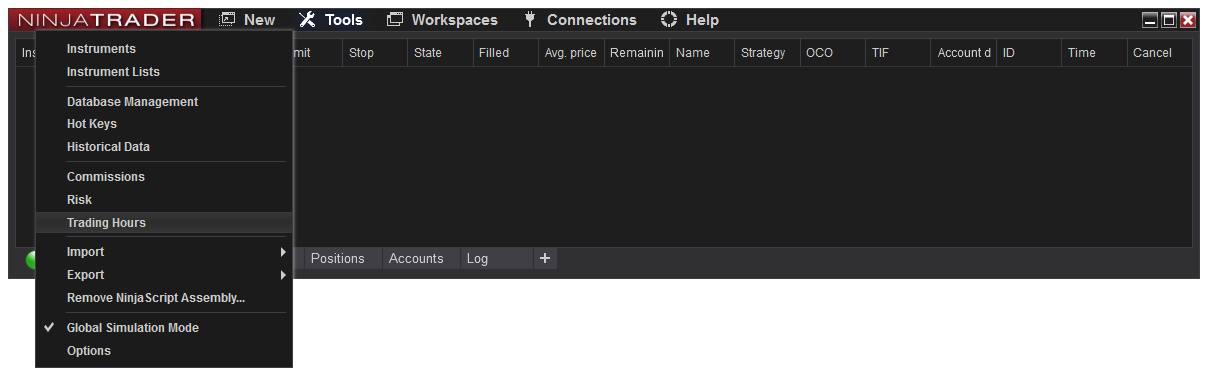
In the Control Center select Tools > Trading Hours.
A number of templates already exist and you may prefer to scroll through those to see if any meet your needs. To avoid confusion it is recommended that you create templates that reflect the ones used in Tradesation.
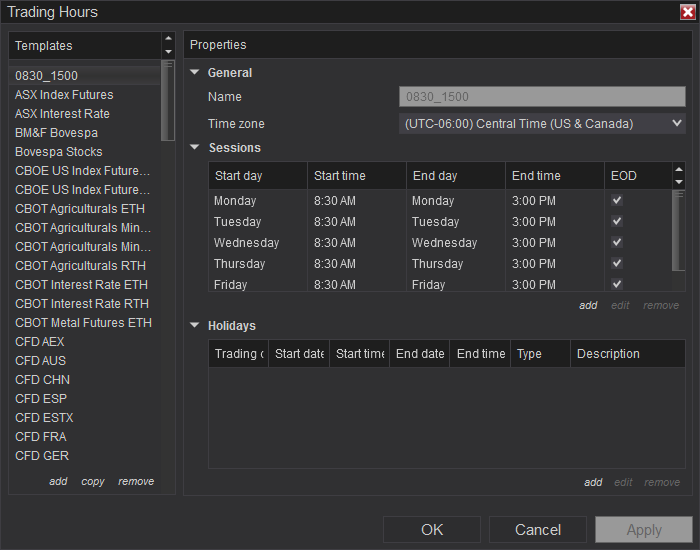
For example you may wish to create a template to cover 0830 to 1500 from Monday to Friday.
In the bottom left of the Trading Hours dialog box select add.
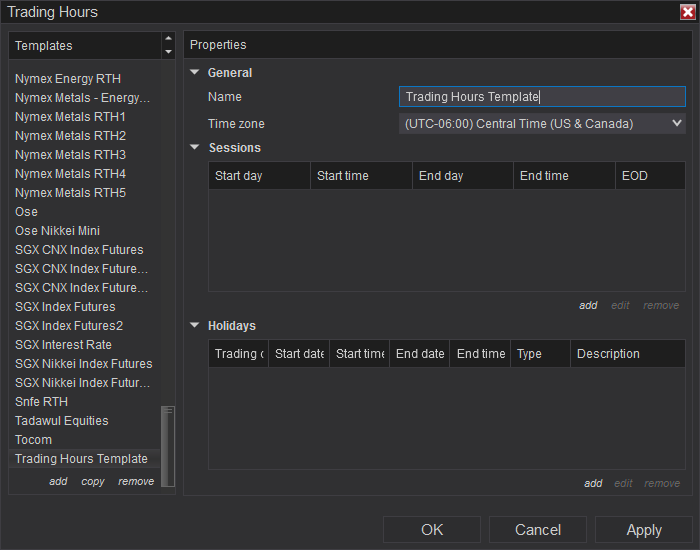
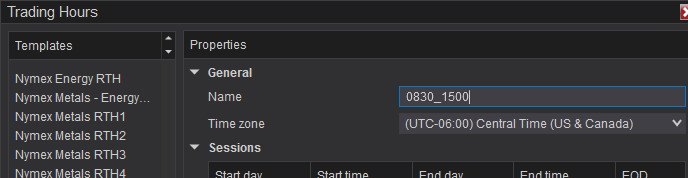
On the right hand side under Properties > General select Name. Delete the Trading Hours Template example text and replace it with 0830_1500.
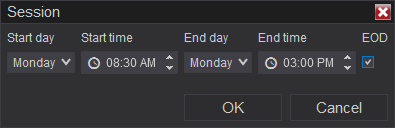
At the lower right of the Sessions section left click add

In the Session dialog box set the Start day and End day to Monday, Start time to 08:30 AM and End time to 03:00 PM. Left click to tick the End of Day (EOD) check box.
Left click OK.
The session for Monday will be added.
Below it right click on the background then select Add Monday Through Friday to copy Monday’s settings to the remainder of the trading week.
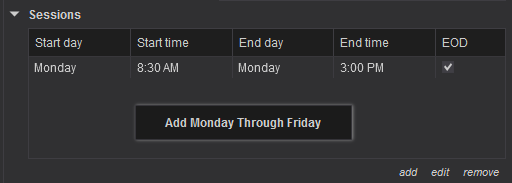
The week’s session will be complete.
Left click Apply and the Trading Hours template will be added to the list on the left.
Click OK to complete adding the Trading Hours template.
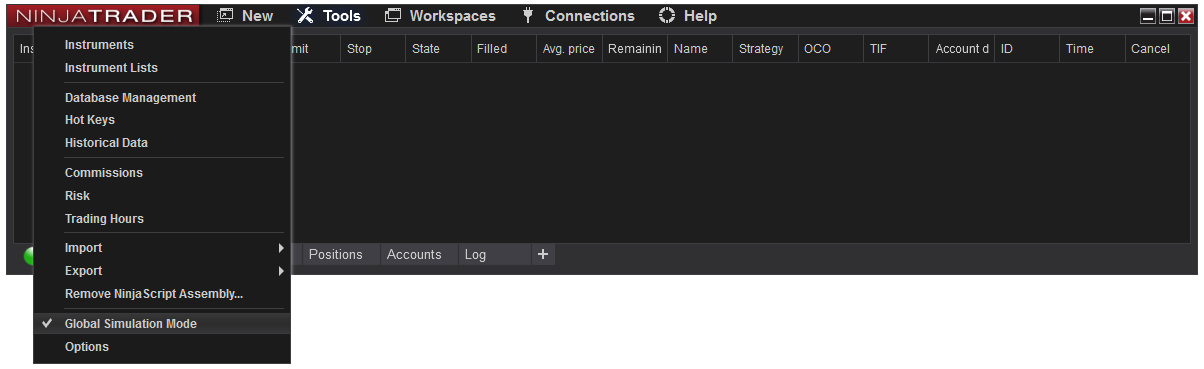
Global Simulation Mode
Global Simulation Mode is like a safety catch that ensures every trade you place is placed in simulation mode without sending live trades through to your broker or risking money. This useful when testing and learning, however will also prevent your auto traded GSB strategies from placing live trades once you are ready to trade live. While a helpful safety feature, it is frustrating to accidentally leave this on and stay in sim, especially during profitable trading periods.
It is good practice to develop a habit of checking the state of the Global Simulation Mode before enabling strategies.
In the Control Center go to Tools > Global Simulator Mode. The tick to the left of the menu option indicates whether or not it is active.